
Stripe is an international online payment processing platform. It processes credit card charges on your behalf. It is a powerful online payment platform so countless people are looking for a way to create a Stripe account.
Here, we will explain the step-by-step guide on how to create a Stripe account without any hassle. Let’s follow all the steps to sign in Stripe.
Steps to Create Stripe Account
Follow all the mentioned below to sign up on Stripe and activate your account.
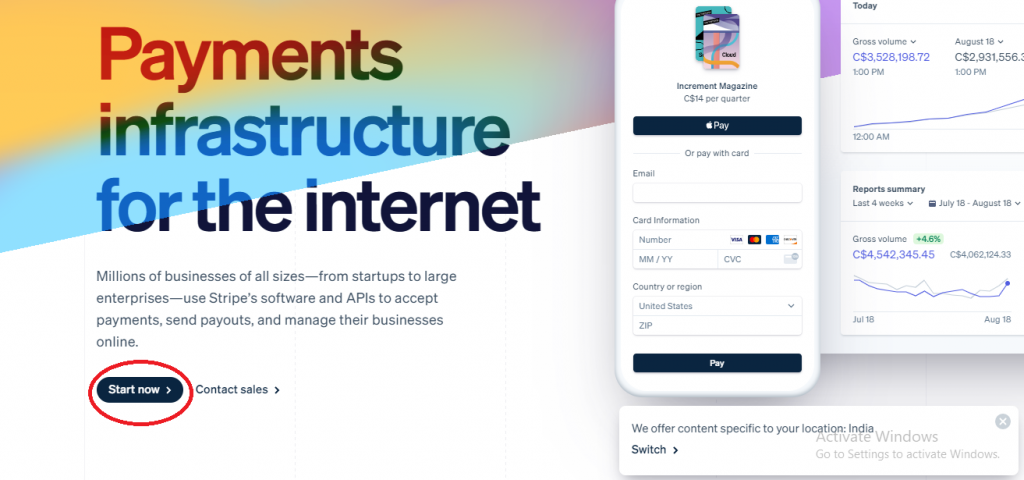
Step 1: Firstly, click on the following URL to proceed.
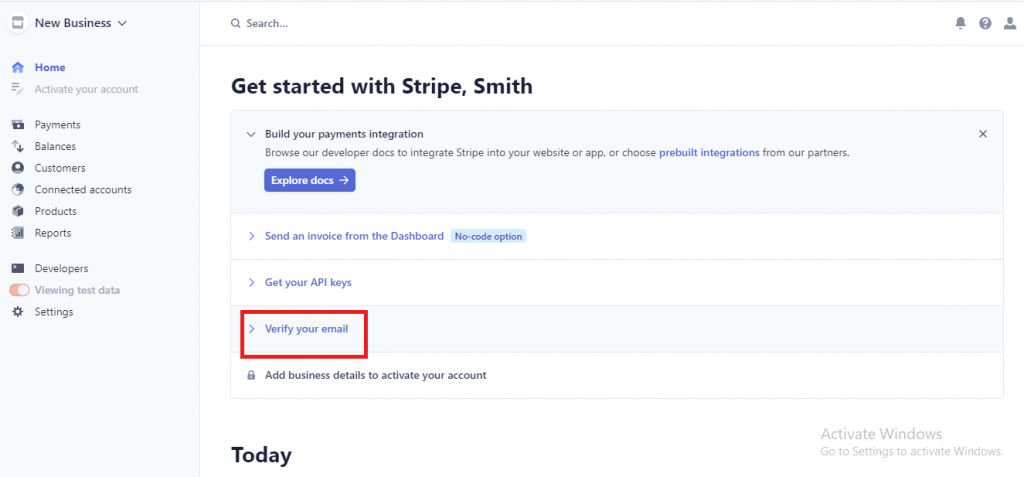
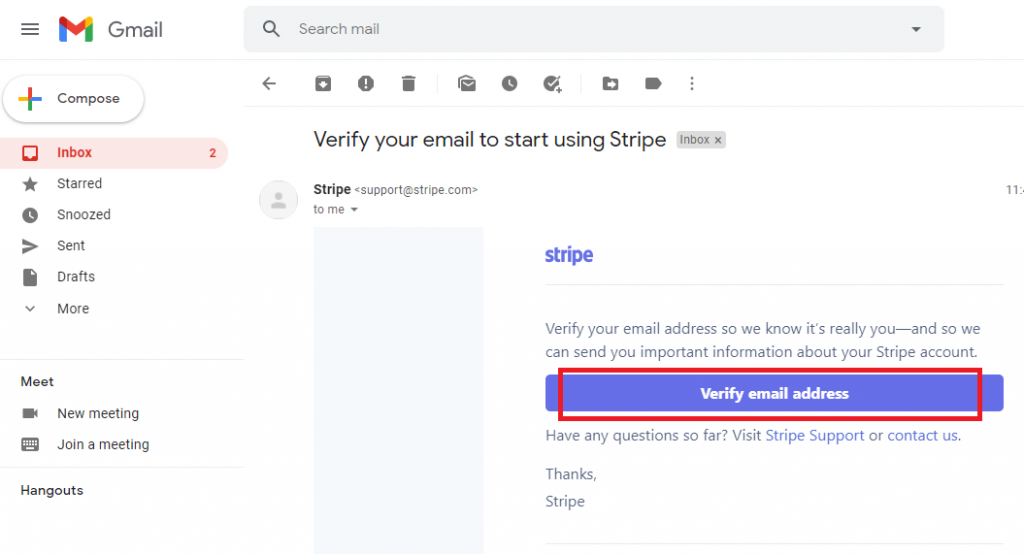
Step 5: Go to Gmail Inbox>>click Verify Email Address to proceed further
Step 6: After verifying the email address, you have to click the “Start Now” tab to activate your Stripe account.

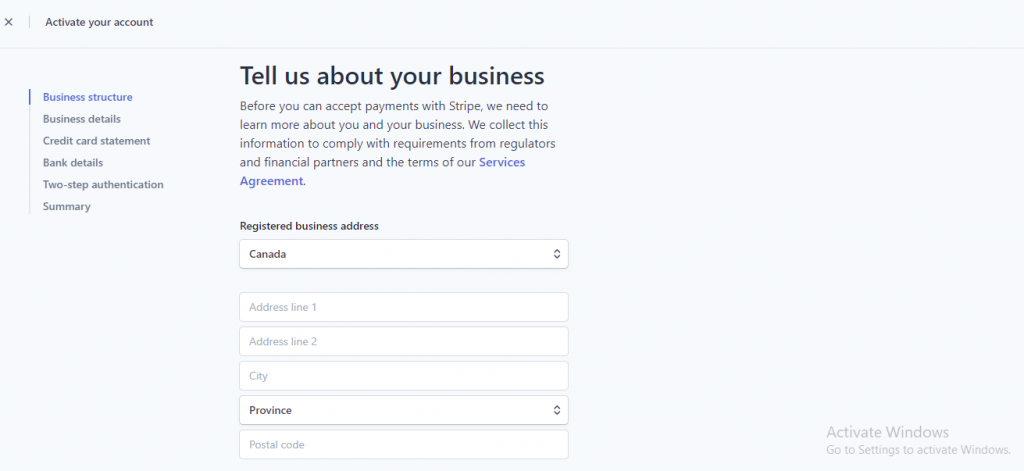
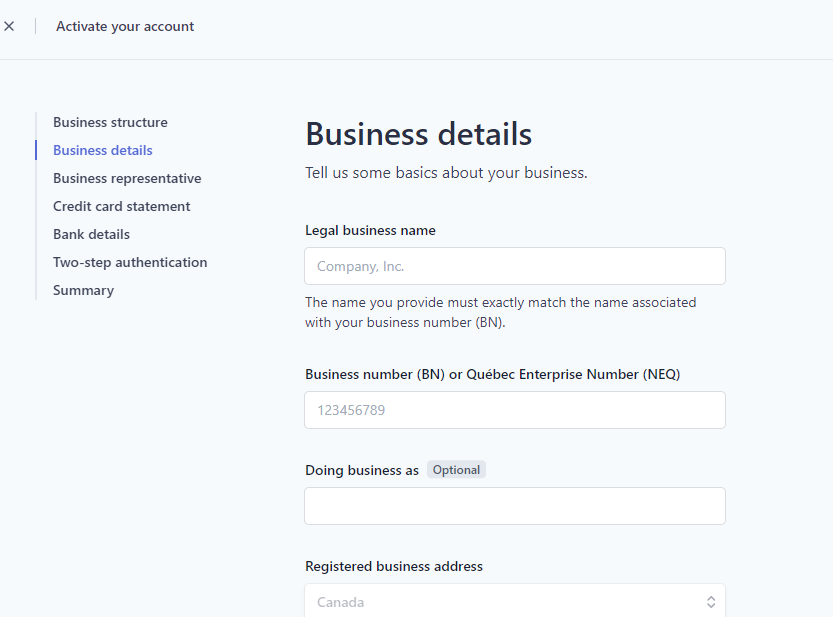
Step 8: Now, provide a short and brief description of your business by adding the necessary details. Then, click Next to proceed.
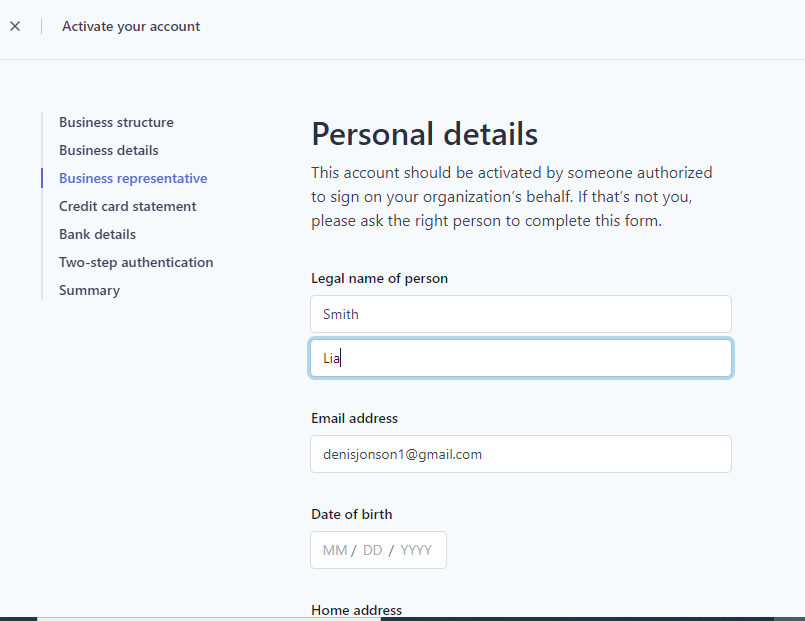
Step 9: Stripe uses this “Personal Details” section to verify the individual’s identity who is signing up for the account. After completing this, click Next to proceed.
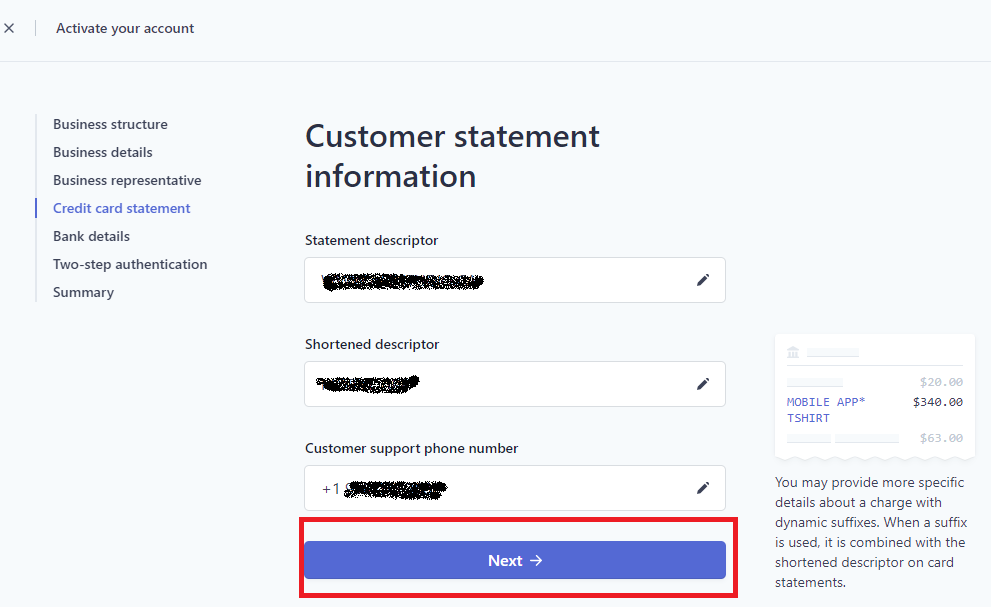
Step 10: Customer Statement Information
- Company Name – Enter something your registrants will recognize on their credit card/bank statement. You can put the name of your event and the name of the organization.
- Phone Number – Enter the phone number associated with your bank account or your organization’s.
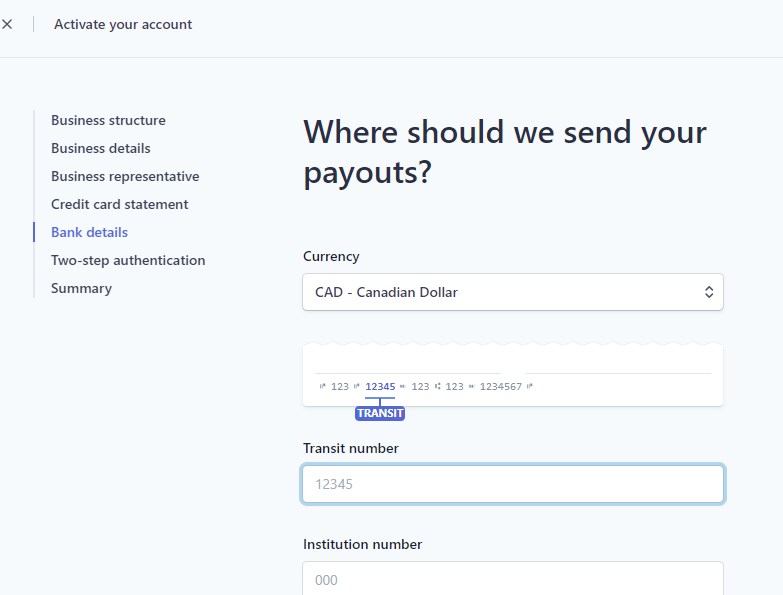
Step 11: Now, add the bank details and click Next to move ahead.
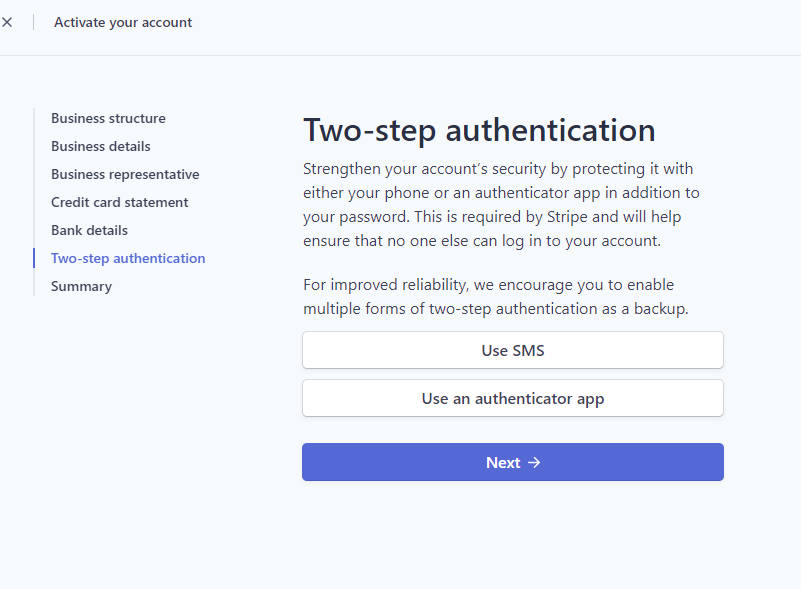
Step 12: To strengthen your account’s security, Stripe asks you for Two-Step Authentication. Here, either choose Use SMS or Use Authentication App option as per your desire.
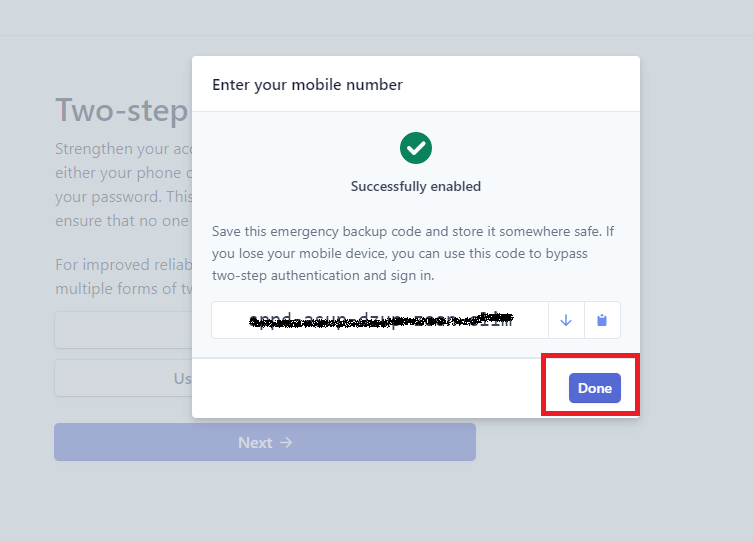
Step 13: After successful authentication, you will receive an emergency backup code, save it for later use and click Done to move ahead.
Step 14: After completion of all the above-listed steps, lastly, you have to click Activate your account To finish the procedure.
Final Words!
If you still encounter any issue while creating a Stripe account, you should immediately contact AppStudio. Our experts will connect with you in a minimum time. Moreover, you can check out the live representation of creating or setting up a Stripe account by selecting the link below.
Frequently Asked Questions
Q1. Is a Stripe account free?
— Signing up for Stripe is free. Stripe charges a highly competitive credit card processing fee of 2.9% + $ .30 (USD) per transaction.
Q2. How long does it take to create a Stripe account?
— In most cases, the account approval process is almost instantaneous, and most users will accept payments immediately. If we need more information about a business or expect a longer delay in processing account approval, we will contact you immediately.
Q3. Is Stripe a secure payment method?
— Stripe is a PCI level 1 service provider with the highest degree of security in payment processing. You can be sure that your donor information is safe and secure.
Q4. How many days does Stripe take to deposit?
— The first deposit with Stripe will take 7-10 days after the payment is made. Subsequent deposits depend on the assigned payment schedule. Most customers receive subsequent payments within 2 business days.